Take a new page or document from File > New and set the measurement like below.
At first Set the default foreground and background color (Black and White) by pressing D from keyboard or click on the Default Foreground and Background Color icon lick below.

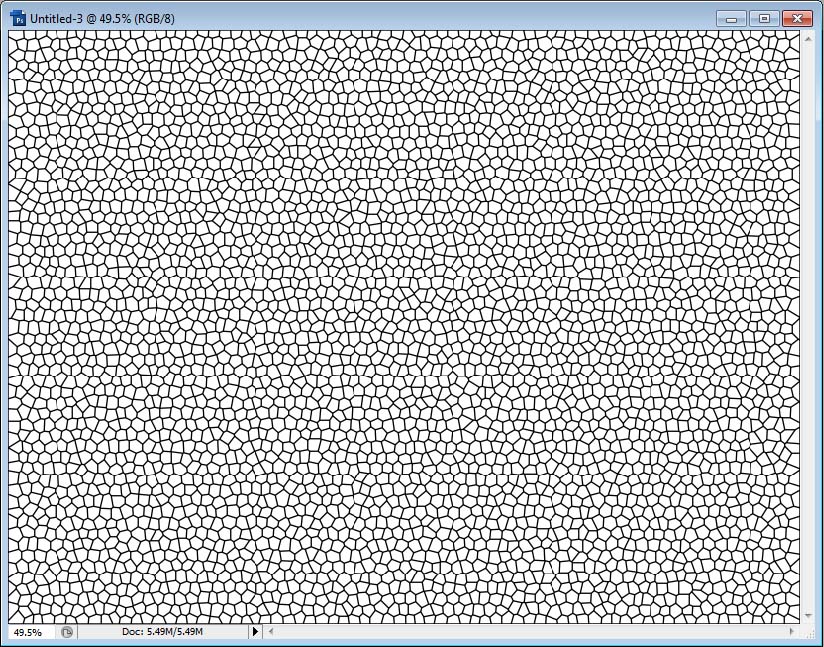
Now Go Filter > Texture > Texturizer a window will come click Stained Glass and set the values
Cell Size: 10
Border Thickness: 4
Light Intensity: 3
Then Press OK. and you will see result like below
Step 3 : Take a new layer and apply texture filter again
Press Shift+Ctrl+N for take a new layer or click on the create new layer icon from the layer palette.
Now fill in with White color.
Go Edit > Fill a window will come set Use: White then OK.
Apply texture filter again like Step 2.
Change the Layer 1 opacity 50%
Prss Ctrl+E for marge both layer then see the result below
Step 4 : Add Noise Filter
Go Filter > Noise > Add Noise a dialog box will come
Set Amount: 20%
Distribution: Uniform and check the Monochromatic option.
Step 5 : Working with Channels panel
Press Ctrl+A for select all the clipboard.
Press Ctrl+C for copy all the clipboard.
Now open channels panel and click the create new channel icon like below
and you will see Alpha 1 channel created.
Now press Ctrl+V for paste.
Step 6 : Fill RGB Channel
Now we have to fill RGB Channels with dark color.
Select RGB form channels panel
Go Edit > Fill Use: Color... then select a dark color or color code is #2f2f2f just like below
Then press OK, OK.
Step 7 : Apply Lighting Effects Filter
Go Filter > Render > Lighting effect a window will come
Set the Light Type: Omni
Negative: 16
Texture Channel : Alpha 1
Set some more light. Click on the small light icon and drag to move and set it like the picture above.
Press OK.
See the result below
Step 8 : Colorize it -Final Steps
Go Image > Adjustments > Hue/Saturation
Set the values like below
Hue: 21
Saturation: 27
Lightness: -6
Check the Colorize option
Press OK and get your final image
Thank you very much for learning this Photoshop Tutorials. If you have any questions or advise please comment us.


No comments:
Post a Comment